Cart is empty

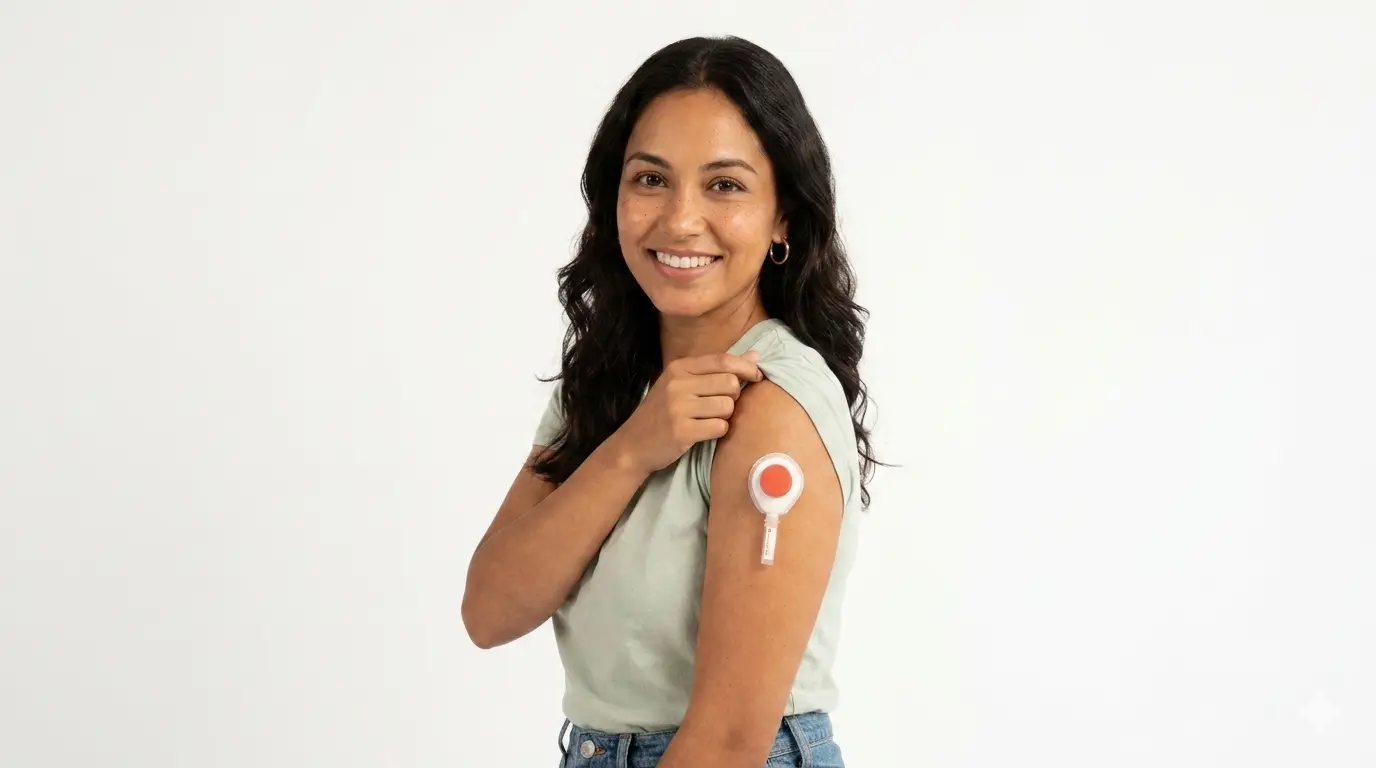
How to Use the Tasso+ Blood Collection Device: A Patient Guide
Traditional venous blood draws often require inconvenient clinic appointments, while standard home finger-prick kits can be uncomfortable and frequently yield insufficient sample volumes. The Tasso+ blood collection device offers a clinically proven alternative, enabling virtually painless, high-quality capillary blood sampling right from your upper arm in the comfort of your home.
Whether you are completing a comprehensive hormone panel, thyroid evaluation, or metabolic health assessment through Windsor Mews Clinic, following this well-structured protocol ensures an optimal sample and swift laboratory analysis.
Pre-Collection Essentials: Optimising Your Blood Flow
Because the Tasso+ device utilises a micro-lancet and gentle vacuum action, pre-collection preparation is essential to encourage strong capillary circulation.
Hydrate thoroughly:
Drink two large glasses of water approximately 30 minutes before testing. Hydration increases blood volume and flow rate.
Warm the collection site:
Rub your upper non-dominant arm briskly for two minutes, take a warm shower, or apply a warm compress. Heat dilates peripheral blood vessels, guaranteeing smooth collection.
Prepare a sterile workspace:
- Wash your hands thoroughly with warm water and soap, sanitise your workspace, and lay out your kit components.
Step-by-Step Instructions
Step 1: Clean and Prepare the Site (1–2 Minutes)
Use the provided alcohol swab to sanitise the outer surface of your upper arm thoroughly. Allow the skin to air-dry completely. If the skin is damp, the adhesive pad will not seal properly against your arm.
Step 2: Assemble the Device (30 Seconds)
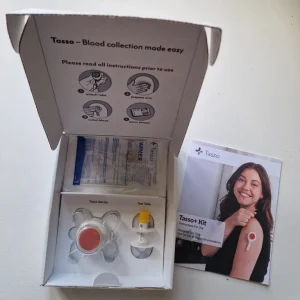
Remove the Tasso+ unit from its sterile tray. Uncap the blood collection tube and insert it firmly into the bottom port of the Tasso+ device until it clicks into place. Ensure the volume fill lines on the tube face outward so they remain visible during collection.
Step 3: Apply and Activate (Instant)
Peel off the adhesive backing tab and remove the clear plastic shield covering the red button. Position the device vertically on your cleansed upper arm with the collection tube pointing straight down. Press the red button firmly until you feel a distinct click, then release.
Step 4: Sample Collection (Up to 5 Minutes)
Rest your arm comfortably at your side. The internal micro-lancet will momentarily pierce the surface skin and retract instantly while the mild vacuum begins drawing blood. You should see blood entering the collection tube within 1–2 minutes. Remain seated until the blood reaches the target fill line (or until 5 minutes have elapsed).
Step 5: Removal and Tube Closure (1–2 Minutes)
Gently peel the adhesive pad away from your skin. Apply firm pressure to the site with a sterile swab, then cover with a plaster. Twist the filled collection tube a quarter-turn to detach it from the main housing, and snap the tube cap firmly into place.
Step 6: Invert and Package (30 Seconds)
Gently invert the sealed tube 10 times to mix the sample thoroughly with the internal anticoagulant additive. Do not shake vigorously. Place the tube into the biohazard specimen bag, complete your clinical requisition details, and package it for immediate dispatch to the laboratory.
Tasso+ How to use Video
Tasso+ Device FAQ & Clinical Overview
Why use the Tasso+ device instead of classic methods?
The Tasso+ device closes the gap between invasive clinical phlebotomy and unreliable home finger-pricks. It allows patients to self-collect robust, laboratory-grade capillary blood samples for advanced diagnostic panels—such as full endocrine markers, metabolic health screens, and cardiovascular risk assessments—without needing to visit a clinic or arrange a phlebotomist visit.
Core Benefits
- Virtually Painless Experience: The micro-lancet fires and retracts in milliseconds. Most patients report feeling almost no sensation in comparison to traditional finger-stick lancets or syringe needles.
- Superior Sample Volume: Finger-pricks yield small, easily hemolyzed drops that can cause test rejection. Tasso+ collects up to 500 µL of intact, high-quality liquid blood suitable for extensive panel testing.
- Automated Hands-Free Operation: Once activated, the vacuum system does the work automatically, eliminating the need to squeeze or “milk” fingertips.
- Built-In Safety: The single-use lancet retracts permanently inside the plastic casing immediately upon activation, removing any risk of accidental needle sticks.
Disadvantages & Limitations
- Venous Requirements: Specific specialised laboratory assays (such as full blood counts or certain fragile clotting factors) still require a direct venous draw from an arm vein.
- Circulation Dependent: Severe dehydration or cold extremities can slow capillary flow. Following the pre-warming steps is key for success.
- Single Activation: The red activation button can only be pressed once. It cannot be reset if pressed accidentally before placing the device on the arm.
Expert Insight from Sabine Lepere
“In clinical practice, poor sample collection is usually down to poor circulation or dehydration before an attempt is made to use the device. If you know you are prone to cold hands or slow blood flow, spend an extra two minutes holding a warm wheat bag or hot water bottle against your upper arm right before applying the Tasso+ device. Ensuring local skin warmth drastically improves sample yield and speed.”
For continued assistance with your diagnostic collection kit or to discuss your health optimisation panel, contact the team at Windsor Mews Clinic.
Last Word…